Defining Additional senders
It is possible to define a different sender name for every message, but first you have to pay attention to several things:
Attention!
- The default sender email is as defined in the "Account information" tab in the "Management info" category.
- New e-mail addresses must be approved via email. Without approval it will not be possible to use the addresses.
1. In the "Entrance" tab select "Additional outgoing Emails".
2. Click on "Add new"
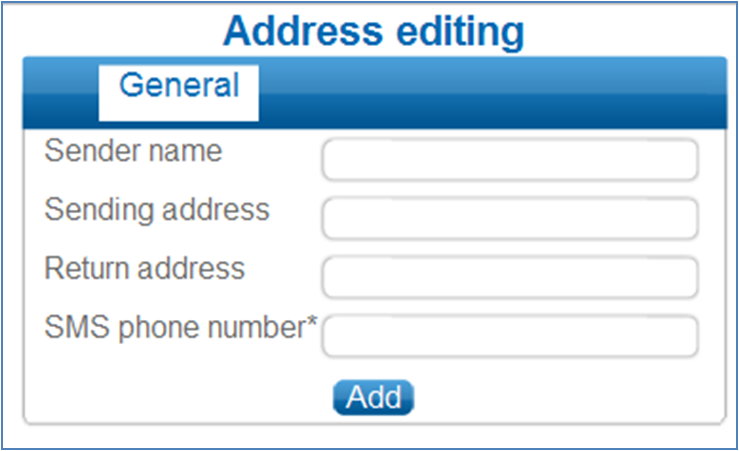
3. Type in the name of sender (from).
4. Type in the sender e-mail address (send on behalf).
5. Type in the return e-mail address (the address to which to send a response).
6. Click on "Add"
7. Now a request for approval will be sent to the new sender's email. Without approval it will not be possible to use the address.
Using the sender address
1. Create a new message and go on to the nest step (timimg and recipients).
2. In the "Other properties" in the category "Send on behalf" select the desired email address.

3. Click on "Next step" and send the message.
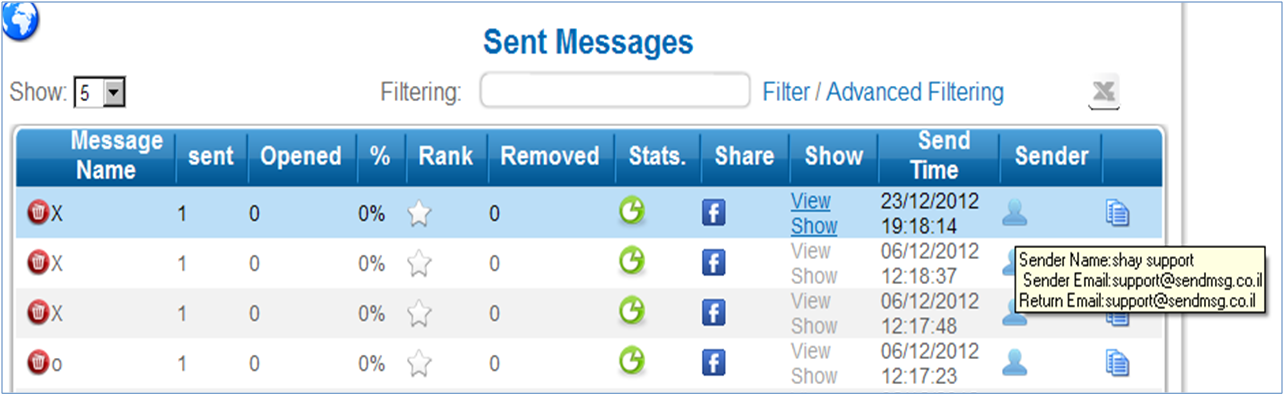
4. Once the message has been sent you can position the cursor on the sender icon and view the sender's address.
|