Mapping image links
The visual part of messages that are sent to subscribers has great importance and is what motivates many businesses to turn to professional designers to create a professional brochure.
To overcome the limitations of mail boxes with regards to images and links there is tool called ImageMap.
This tool eliminates the need to cut the image and allows you to create several different links in the same image.
Note – This tool is relevantly new technology and therefore is not supported by Explorer 7 and lower internet browsers.
1. First upload an image into the message body. You can use the guide to "Adding an image to a message"
2. Mark the image and click on the Edit ImageMap button in the tool bar.
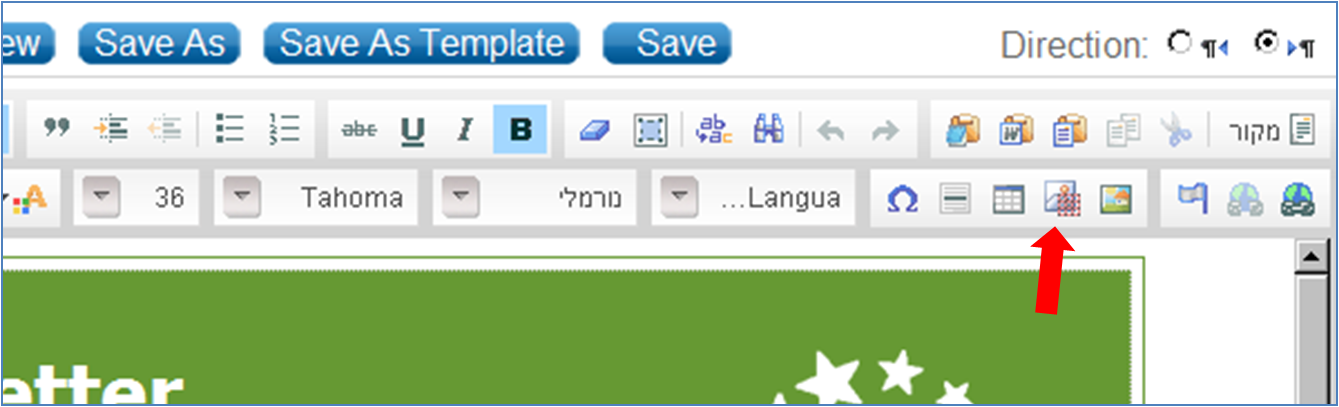
3. Select the link shape Polygon, Box or Circle. The shape you select will appear in the top left corner of the image.
4. Drag the shape to the desired link location.
5. Stretch the boundary marks to the desired size using the mouse. Relatively large areas should be encompassed. Boundary marks will not be visible to the recipients.
6. In the appropriate place fill in the link URL, the link name (not visible to recipients) and alternative text (the text will be visible to the recipient should they not be able to view the image)
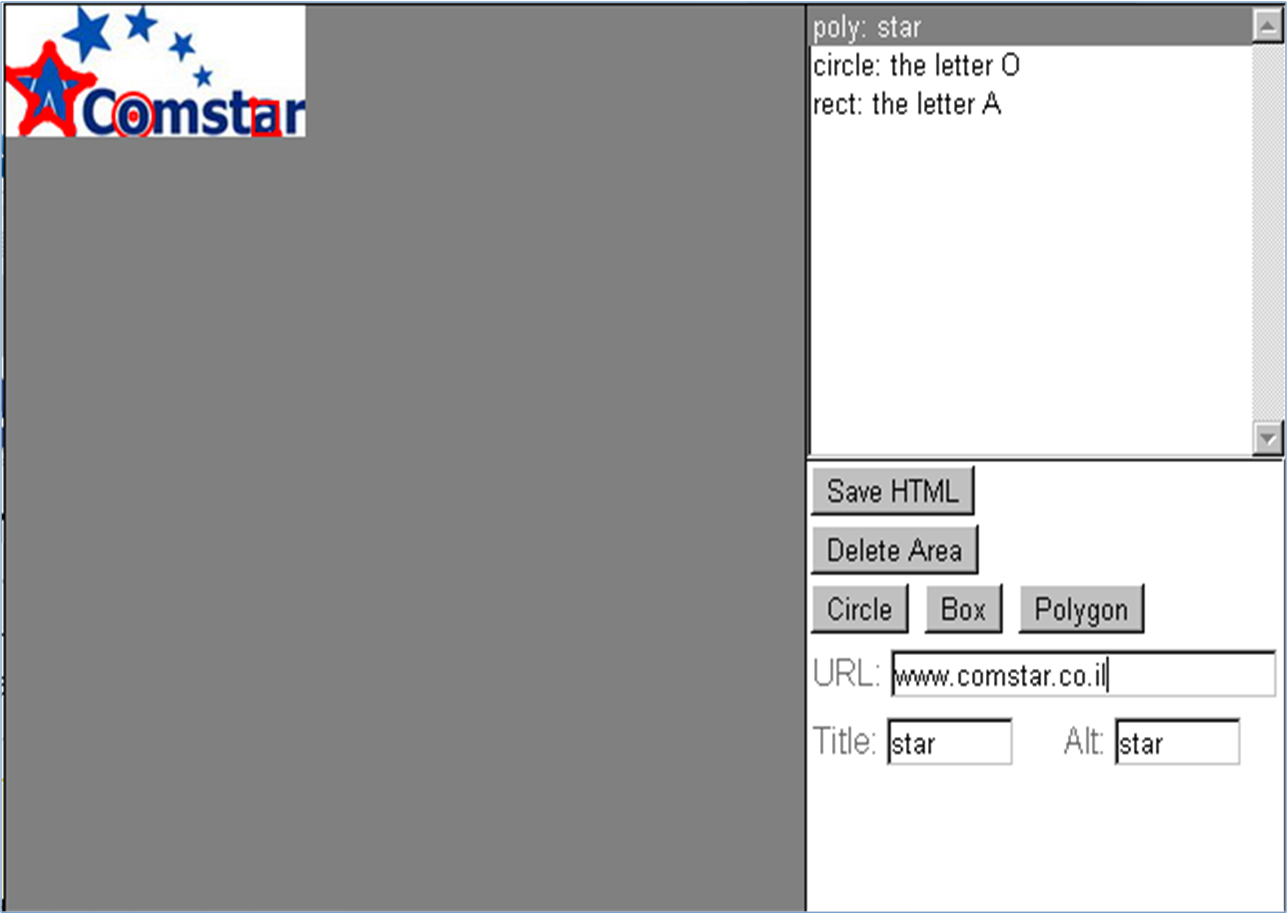
7. Click Save HTML to finish (To add additional links repeat steps 3-5).
|