Creating subscription fields
Before you begin working inside the system it is recommended to define the fields you want for your contacts information.
Common fields that you can add are: first name, last name, phone number, address and more.
Note: Email address and mobile phone number are already set in the system and there is no need to add them.
1. In order to create fields in the system go to "Entrance" tab in the main menu as shown.
2. In the menu on the left hand side click on "Fields Management"
3. Write the Field Name of your choice in the empty text box (e.g. "first name")
*In the "Example Value" column you can fill in entries that will appear when you send a test message.
4. Choose the Field Type and click on "Add"
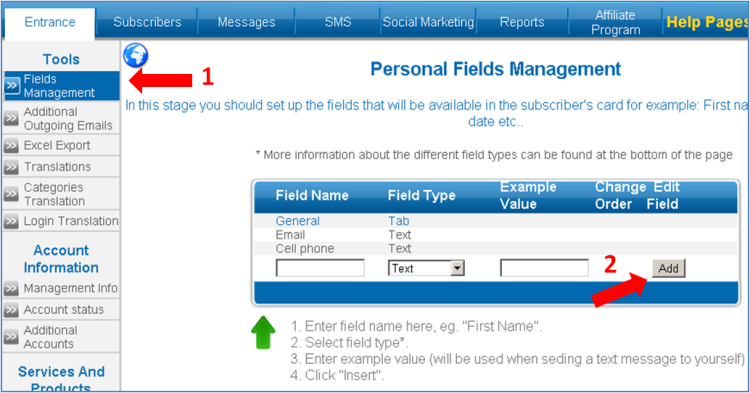
*When creating fields you can add different field types such as date, yes/no, long text, multiple choice and more.
More information about the different field types can be found in the guide to "Field types".
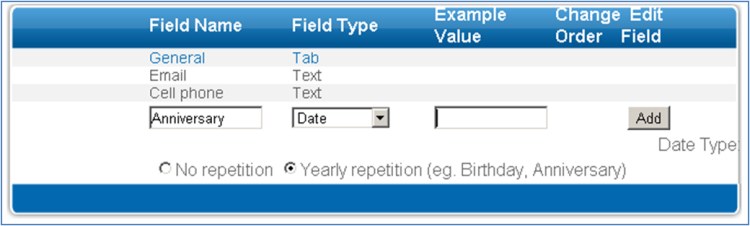
Examples of different field use:
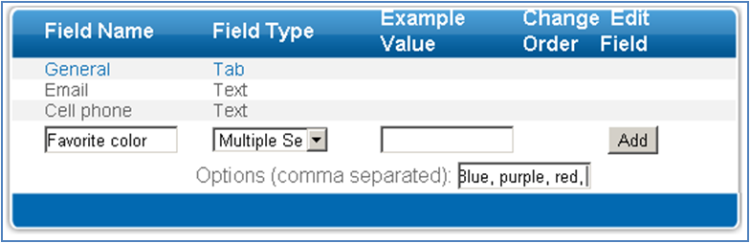
-
Multiple Selection Field:
When you set a multiple selection field type another line opens in which the possible choices separated by a comma must be set.
1. To create further fields repeat steps 3 and 4 when necessary.
(You can always add more fields, change the field name or erase existing fields at a later date)
2. You can change the field position by clicking on the arrows that appear under the "change order" column. The red arrow will lower the field and a blue arrow will lift the field.
Another option is to click on the Edit button on the side of the field and fill in the position number you want.
|